


Welcome to the One Stamp At a Time Blog Hop! I'm go glad to have you here at Create With Christy! This month, our theme is projects for our BFFs. My projects are a card and candy pillowbox for my BFF.

Learn how to make my projects in my video:
Click "Watch on YouTube" if You Would Like to See it in HD

My BFF projects all feature the True Beauty Bundle (includes the stamp set & the Organic Beauty Dies) and Awash in Beauty Designer Series Paper (DSP). Both of these products are a part of the Awash in Beauty Suite in the Stampin' Up! 2022-2023 Annual Catalog. I absolutely love how the flowers and leaves stamp...the detail is amazing!

When I stamped the flowers on the deckled rectangle for my card, I envisioned making it look like a painting. I remembered the Painted Texture 3D Embossing Folder, and embossed it after stamping them. It's so hard to see it in any of my pictures. It really looks like a painting in person. I think the video above shows it better.

I love the feminine feel of this card, and I just had to add some bling to it to finish it off. I used the 2021 - 2023 In Color Opal Rounds. I used 1 small & 2 large in the Polished Pink color. Of course, I just had to use that Polished Pink Open Weave Ribbon, too. I LOVE how Stampin' Up! coordinates their products so well, don't you?

Instead of stamping onto the inside of the card like I usually do, I decided to put a strip of DSP across the bottom of the inside Basic White layer instead. I really like the finished look.
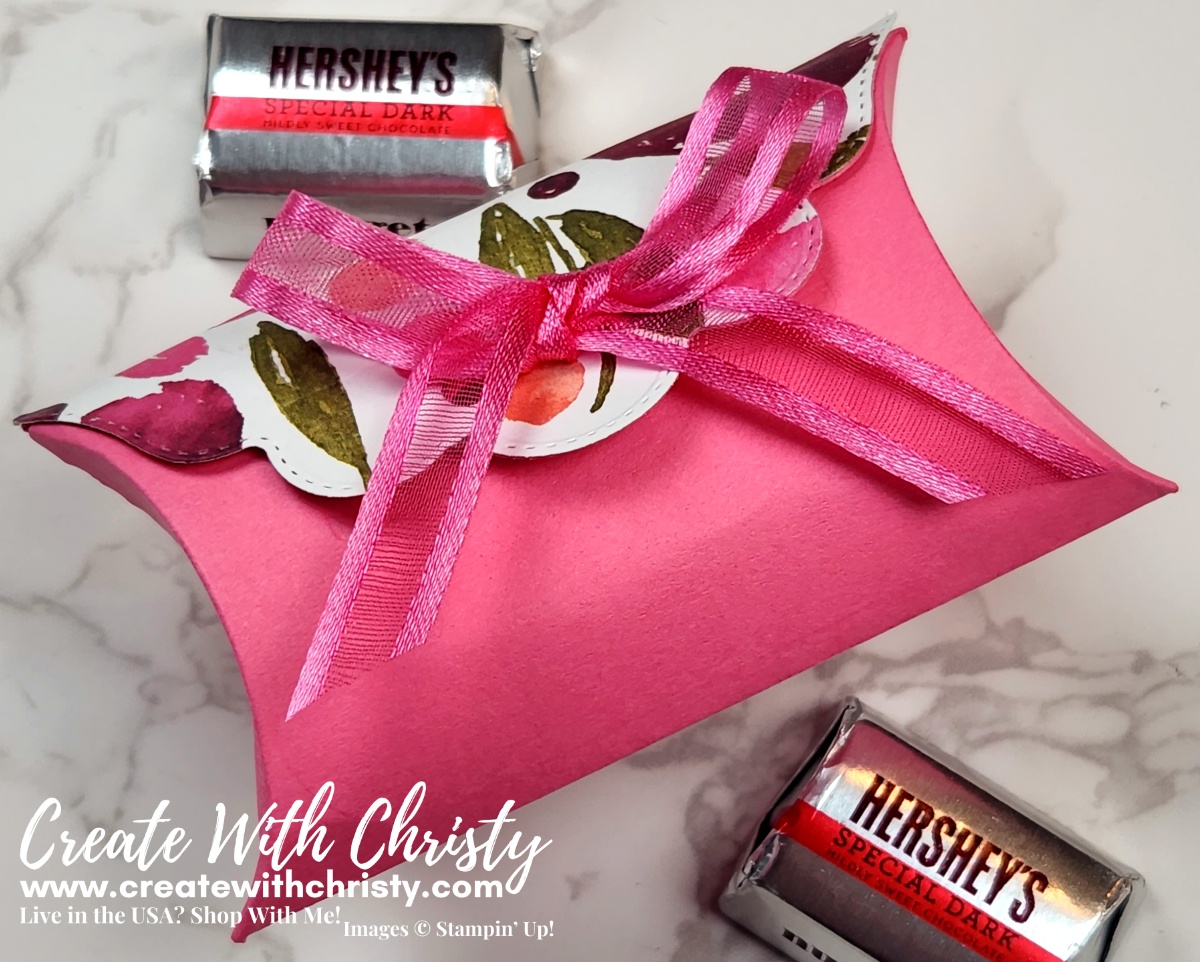
If we give our BFF a card, we need to give them chocolates, don't we? This pouch works great for giving little nugget candy bars as a little gift. Of course, you can fill them up with other goodies, too.
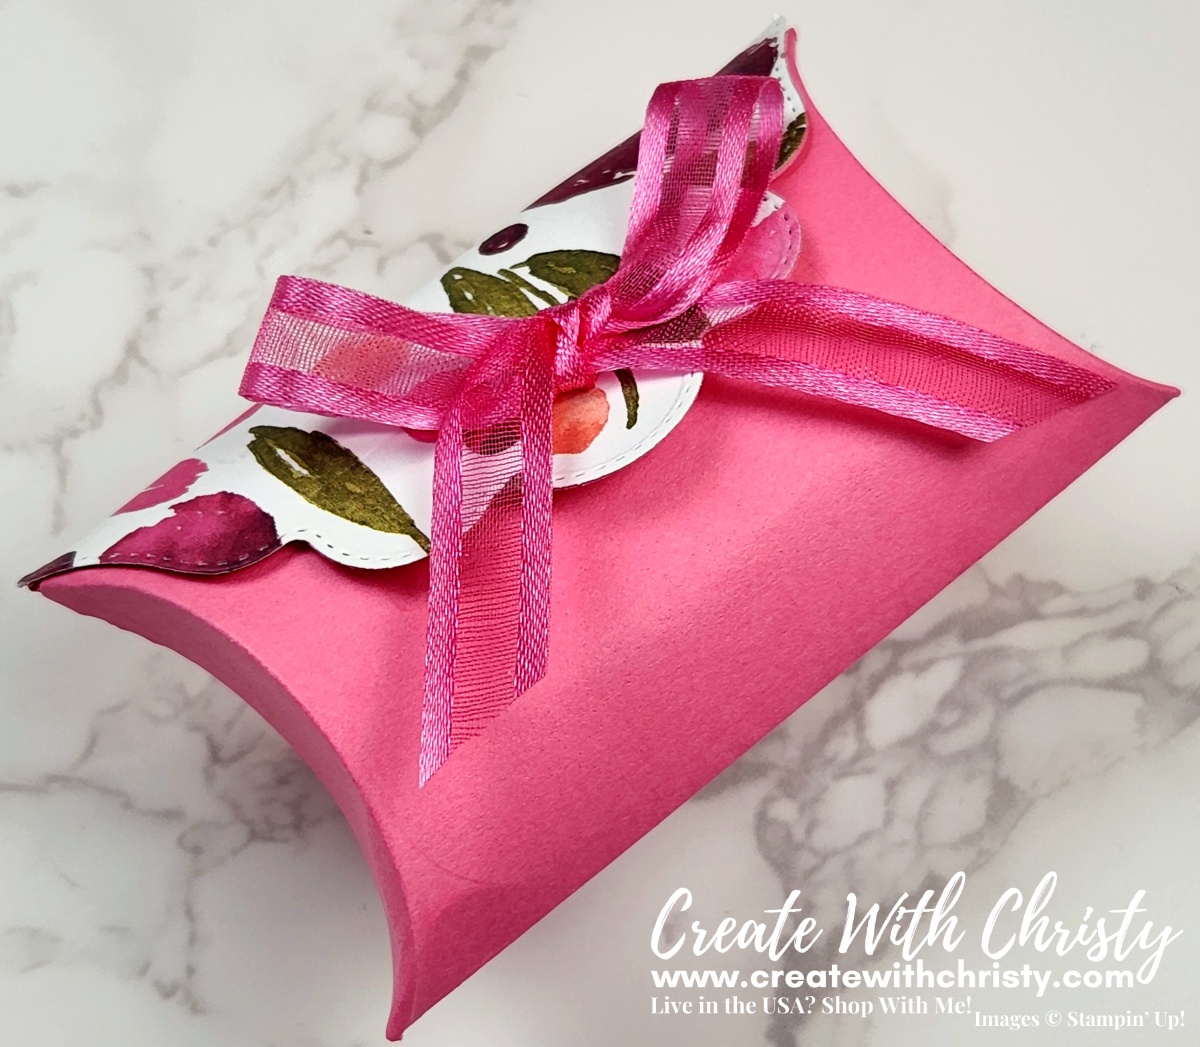
I made my pillowbox with the Pretty Pillowbox Dies from the same annual catalog. I added DSP to the flap of the pillowbox, and you can see how I did it in the video above. I only needed a piece of cardstock, DSP, and ribbon to make this pouch, and I think it looks great with the card.

Dimensions (CS = Cardstock):
- Polished Pink CS: 5-1/2" x 8-1/2" (card base)
- 4-1/8" x 2-3/4" (mat for "painting")
- Basic White CS: (2) 5-1/4" x 4" (base layer & inside layer)
- 5-1/2" x 2-1/2" (flower, berry branches, & leaves die-cuts)
- 4-1/2" x 3" (deckled rectangle - "painting")
- 2-1/2" x 3/4" (greeting)
- Awash in Beauty DSP: 2" x 4" (card front piece)
- 5-1/4" x 3/4" (inside piece)
- Polished Pink Open Weave Ribbon: 6"

Dimensions:
- Polished Pink CS: 4-1/2" x 6" (pillowbox)
- Awash in Beauty DSP: 4" x 2" (pillowbox flap)
- Polished Pink Open Weave Ribbon: 12"
You Can Find the Complete Supply List for Both Projects Below
Don't Miss Everyone Else's Great Projects...
Join the Blog Hop!
To join the hop, and see the other fabulous creations, click on the names below If you're reading this in an email - you'll need to click HERE to go to my blog and scroll down until you see the blog hop list.


************************


If You're Reading This Post After August 31, 2022, Click on the Picture to See the
Current Month's Thank You Gifts and Host Code


