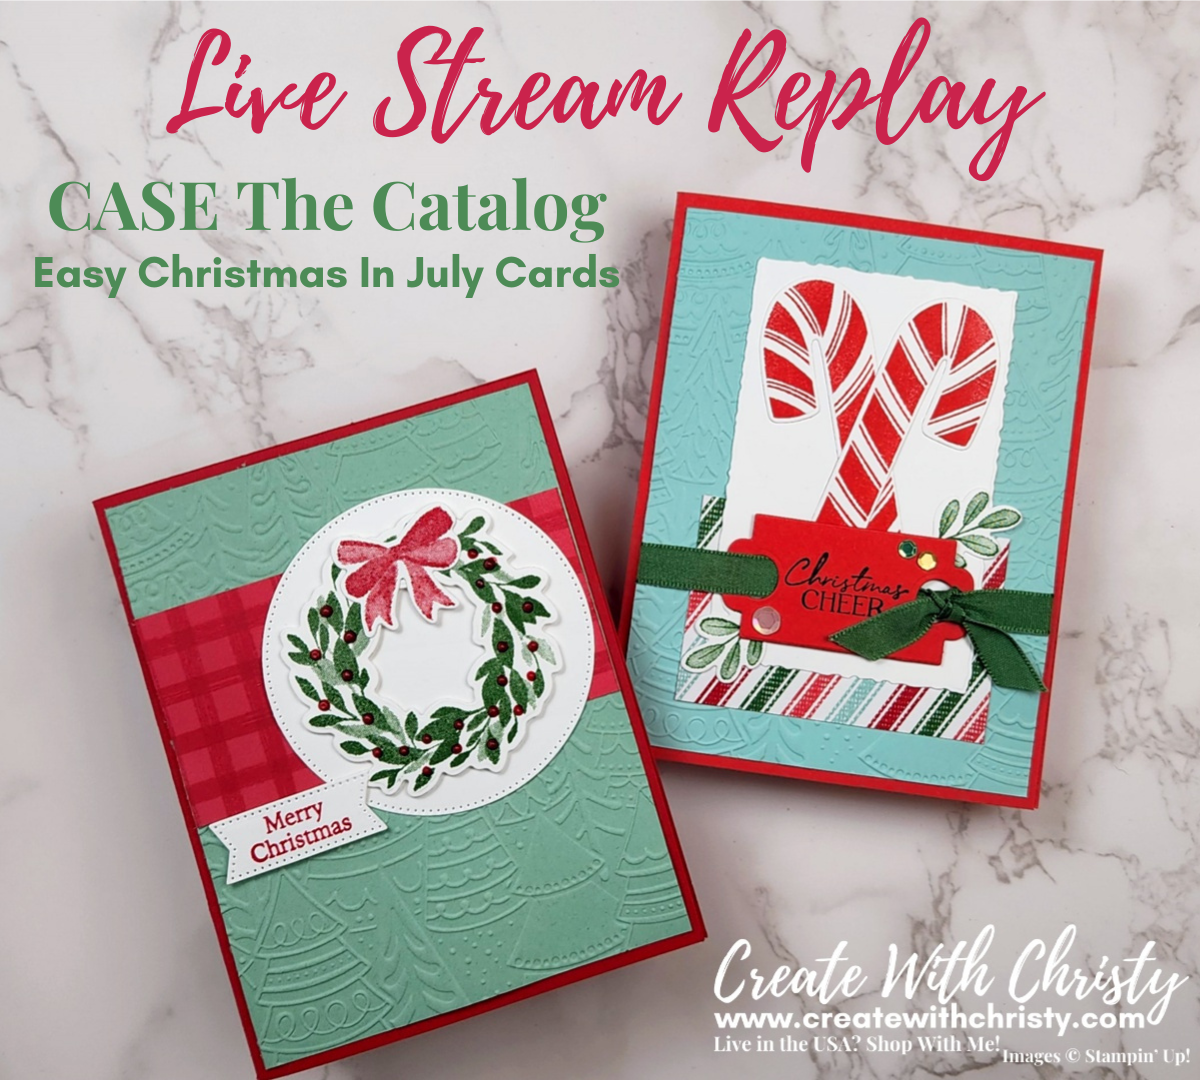
I'm sorry it took me so long to post this. Here are the cards I made in my Weekly YouTube/Facebook Live last Tuesday. I was pressed for time to make the projects, so I decided to CASE a couple of the wonderful projects shown in the Stampin' Up! July - December 2022 Mini Catalog (Holiday Mini).
Watch the Recording of the Live Here:
Click "Watch on YouTube" if You Would Like to See it in HD
This is the first card I CASEd from the Holiday Mini. It features the Santa Express Suite of products. You can find it on p. 16. I changed all of the products on my card, but I kept the same layout. You can see it below:
I used almost all of the products in the Gingham Cottage Suite...the Cottage Wreaths Bundle, Pearlized Enamel Effects Basics, and the Gingham Cottage Designer Series Paper (DSP). I also used the super cute Whimsical Woodland 3D Embossing Folder, from the same Holiday Mini.
This is the first time I've used the Pearlized Enamel Effects, and I really like how they look. They're really easy to use, too. I taught how to use them in my Live video above.
I also showed how to shorten a banner die-cut in the video. The banner die I used, from the Stylish Shapes Dies, was too long, and I shortened it with the die itself. It looks like it was always that way!
Here's the card I CASEd for my second card in the video. It features the Regal Reindeer Bundle, and it can be found on p. 14 in the Holiday Mini. Once again, I changed everything but the layout.
My version of the 2nd card features products from the Sweetest Christmas Suite in the Holiday Mini. I used the Sweet Candy Canes Bundle, Real Red & Garden Green Ribbon Combo Pack, Adhesive-Backed Seasonal Sequins, and Sweetest Christmas DSP.
As you can see, I used the same Whimsical Woodland 3D Embossing Folder on this card, too. It's so adorable. I added the Seasonal Sequins onto the greeting label to decorate it up a bit.
I used two pieces of the ribbon for the greeting label. I used a ribbon piece to thread through the holes in the label, and I then attached the ribbon ends to the back of the Pool Party layer. I used another shorter piece of the ribbon, and tied it onto the attached ribbon with a single knot. Then, I slid the knotted ribbon to where I wanted it...over the right hole in the label. I think it's so much easier to do it this way than with one piece of ribbon.
- Real Red CS: 8-1/2" x 5-1/2" (card base)
- Mint Macaron CS: 4" x 5-1/4" (embossed base layer)
- Basic White CS: 3-1/4" x 3-1/4" (circle)
- 3" x 3" (wreath)
- 1-1/2" x 1-1/2" (bow)
- 3" x 1" (greeting banner)
- 4" x 5-1/4" (inside)
- Gingham Cottage DSP: 4" x 2"
- Sweet Sorbet CS: 8-1/2" x 5-1/2" (card base)
- 3" x 1-3/4" (greeting label)
- Pool Party CS: 4" x 5-1/4" (embossed base layer)
- Basic White CS: (2) 4-3/4" x 3-1/2" (rectangle layer & candy canes)
- 4" x 5-1/4" (inside)
- Sweetest Christmas DSP: 3" x 2"
- Real Red & Garden Green Ribbon Combo Pack: 6" (strip)
- 4" (knotted piece)
- Adhesive-Backed Seasonal Sequins: 1 each - small gold & Garden Green
- 1 large white


