I originally made this card for my mom on Mother's Day. When I finished it, I knew it would make a great card for a friend, too. So, I changed the greeting to one from the True Beauty Bundle, and now I have a card for a friend.
Learn How to Make My Card in My Video Tutorial:
Click "Watch on YouTube" if You Would Like to See it in HD
The True Beauty Bundle, which includes the True Beauty Stamp Set & Organic Beauty Dies, is part of the gorgeous Awash in Beauty Suite. I also used the Iridescent Pearl Basic Jewels from the suite, but I didn't use the Awash in Beauty Designer Series Paper (DSP). This DSP is so beautiful, but I decided to use the Brushstroke Specialty Paper instead.
In case you were wondering, the large metallic background die-cut was made with one of the dies in this bundle. I attached it using our Adhesive Sheets. You can learn how to use these Adhesive Sheets in my video above.
Do you see the pretty embossed background behind the large metallic die-cut? I used one of my favorite new embossing folders, and it's called Painted Posies 3D Embossing Folder. I really like how it looks.
Would You Like to Get the Painted Posies 3D Embossing Folder FREE?
Click Here to Check Out My Thank You Gifts for May!
Check out those beautiful pearls on the greeting! The picture kinda shows the iridescent effect, but they look even better in person. For more shimmer, I used the new Rose Gold & White Striped Ribbon. The rose gold in the ribbon really shines so pretty!
Speaking of the greeting, do you see the edges on the rectangle it's stamped on? I love it! It was made using the new Deckled Rectangle Dies. After making this card, I know that these are going to be one of my go-to die sets!
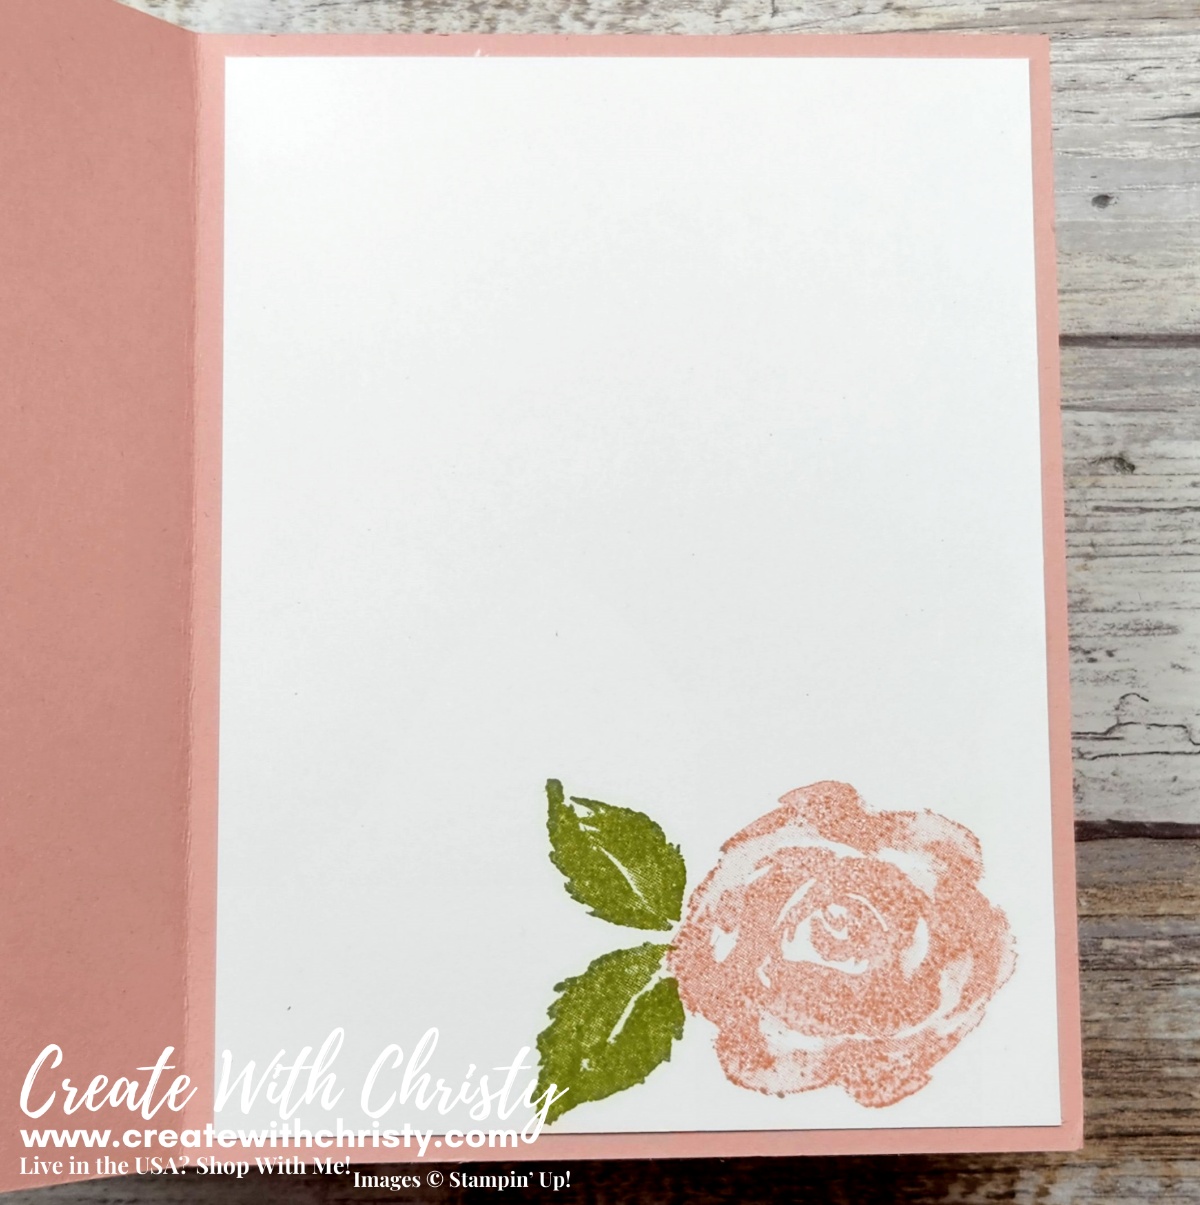
I can't leave without showing you the inside of my card. I stamped off both images before stamping the on the cardstock. When the ink on the Pearlescent Specialty Paper dried, it lightened up, so I wanted a lighter version of the ink on the inside so they would match.
You Haven't Stamped on the Pearlescent Paper Yet! Learn How In My Video Above!
Dimensions (CS = Cardstock):
- Blushing Bride CS: 8-1/2" x 5-1/2" (card base)
- Basic White CS: 2-3/4" x 1-1/2" (greeting rectangle)
- (2) 4" x 5-1/4" (embossed outside & inside layers)
- Pearlescent Specialty Paper: 4" x 3-1/2" (flower & stem)
- Brushstroke Specialty Paper: 4" x 1-1/2" (Blushing Bride strip)
- Brushed Metallic Cardstock: 4-1/4" x 5-1/2" (bronze)
- Adhesive Sheets: 4-1/4" x 5-1/2"
- Rose Gold & White Striped Ribbon: 6" (strip) & 10" (bow)
- Iridescent Pearls Basic Jewels: 2 small & 1 large


